A properly adjusted points gap is crucial for your Ford 8N tractor's engine performance. A small adjustment can significantly improve starting, running, and overall engine longevity. This guide provides step-by-step instructions for setting the points gap, regardless of your distributor type (front or side-mount). Even novice mechanics can master this vital maintenance task. For more information on Ford 8N restoration, check out this helpful resource: 8N tractor paint guide.
Identifying Your Distributor Type: Front or Side?
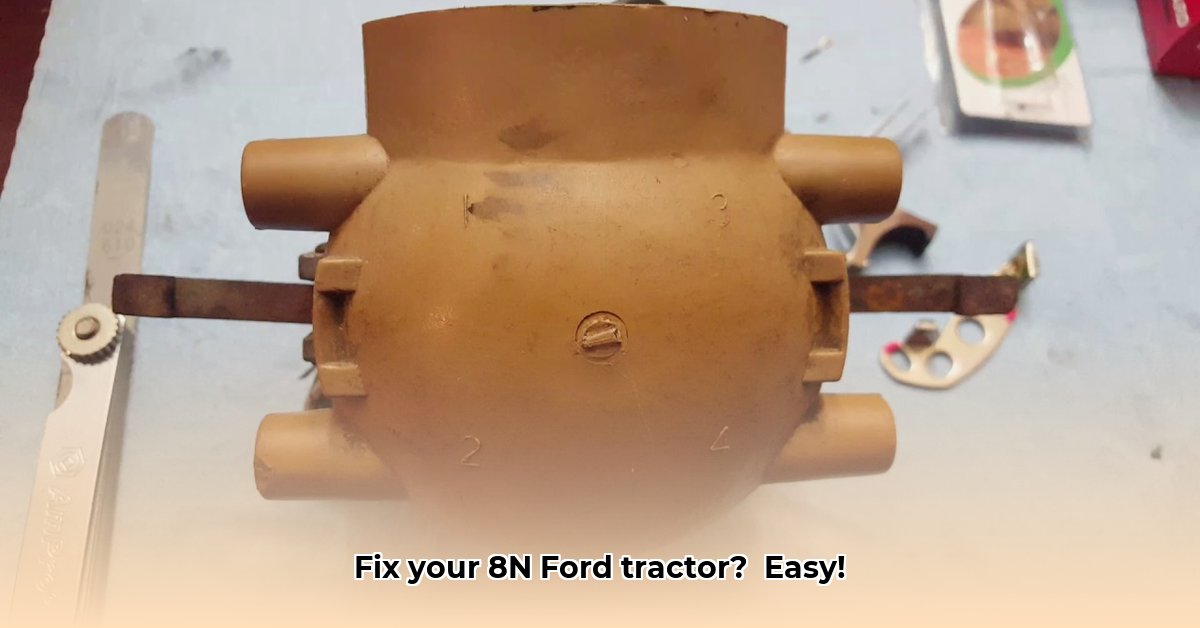
Before you begin, identify your distributor's location. This crucial step determines the correct point gap setting.
- Front-Mount Distributor: Located prominently at the front of your engine.
- Side-Mount Distributor: Situated on the side of the engine block.
Consult online images of "Ford 8N front mount distributor" and "Ford 8N side mount distributor" if you need visual clarification. Knowing your distributor type is essential for accurate gap adjustment.
Tools and Materials Needed
You'll need a few basic tools:
- Feeler Gauge: A precision tool for measuring the gap between the points (available at most auto parts stores). Ensure it includes blades for both .015" and .025" measurements.
- Phillips Head Screwdriver: A small, appropriately sized screwdriver for adjusting the points.
- Replacement Points: Having a new set of high-quality points on hand is recommended. Popular brands include Blue Streak and B/W. Worn points significantly impact performance.
- Optional: Replacement Adjusting Screw: If your existing adjusting screw shows signs of wear, replace it for accurate adjustments.
Step-by-Step Points Gap Adjustment
The ideal gap varies depending on your distributor type:
| Distributor Type | Recommended Gap (inches) |
|---|---|
| Front Mount | 0.015 |
| Side Mount | 0.025 |
Follow these steps carefully:
- Remove Distributor Cap: Carefully remove the distributor cap to expose the points (two small metal contacts). Handle the cap and points gently to avoid damage.
- Measure Existing Gap: Use the appropriate feeler gauge blade (0.015" for front mount, 0.025" for side mount) to measure the current gap. A snug fit indicates the correct gap. If the gauge slides in easily, the gap is too wide; if it’s difficult to insert, it's too narrow.
- Adjust the Gap (If Necessary): Use the adjusting screw (usually located near the points) to alter the gap. Make tiny adjustments, frequently checking with your feeler gauge. Avoid over-tightening, which could damage the screw or points.
- Reassemble: Once the correct gap is achieved, carefully replace the distributor cap. Double-check your work before starting the engine.
Troubleshooting Common Issues
Even with careful execution, problems can arise:
Seized Adjusting Screw: If the screw is stuck, apply penetrating oil and wait before attempting to loosen it. If it remains stubborn, seek assistance from a mechanic. Forcing a damaged screw can cause further damage.
Engine Still Malfunctions: If the engine continues to run poorly after adjusting the points gap, other components (condenser, ignition coil, etc.) may require attention. Consult a mechanic or perform further diagnostics.
Preventative Maintenance: Keeping Your 8N Running Smoothly
Regular maintenance is key:
- Periodic Checks: Inspect the points gap every 50-100 hours of operation, or at least annually.
- Component Replacement: Replace the points and condenser annually, or sooner if wear is evident. Preventative maintenance minimizes downtime and extends the life of your tractor.
Properly adjusting your Ford 8N's points gap is a simple yet crucial maintenance task. By following these steps and practicing preventative maintenance, you can ensure your tractor runs reliably for years to come.